Strategy guide · Tower defense
Tower Defense Strategy: Where to Build, What to Buy and When to Upgrade
Every tower defense game comes down to one sum: damage per second, times the seconds enemies spend in range, times the enemies each hit lands on. Placement and slows change the seconds, splash and pierce change the targets, upgrades change the damage. This guide works each lever through with real numbers from Play in Phone's two tower defense games, Fort Pop and Tower Defense TD, read from their source code and tested in full runs.
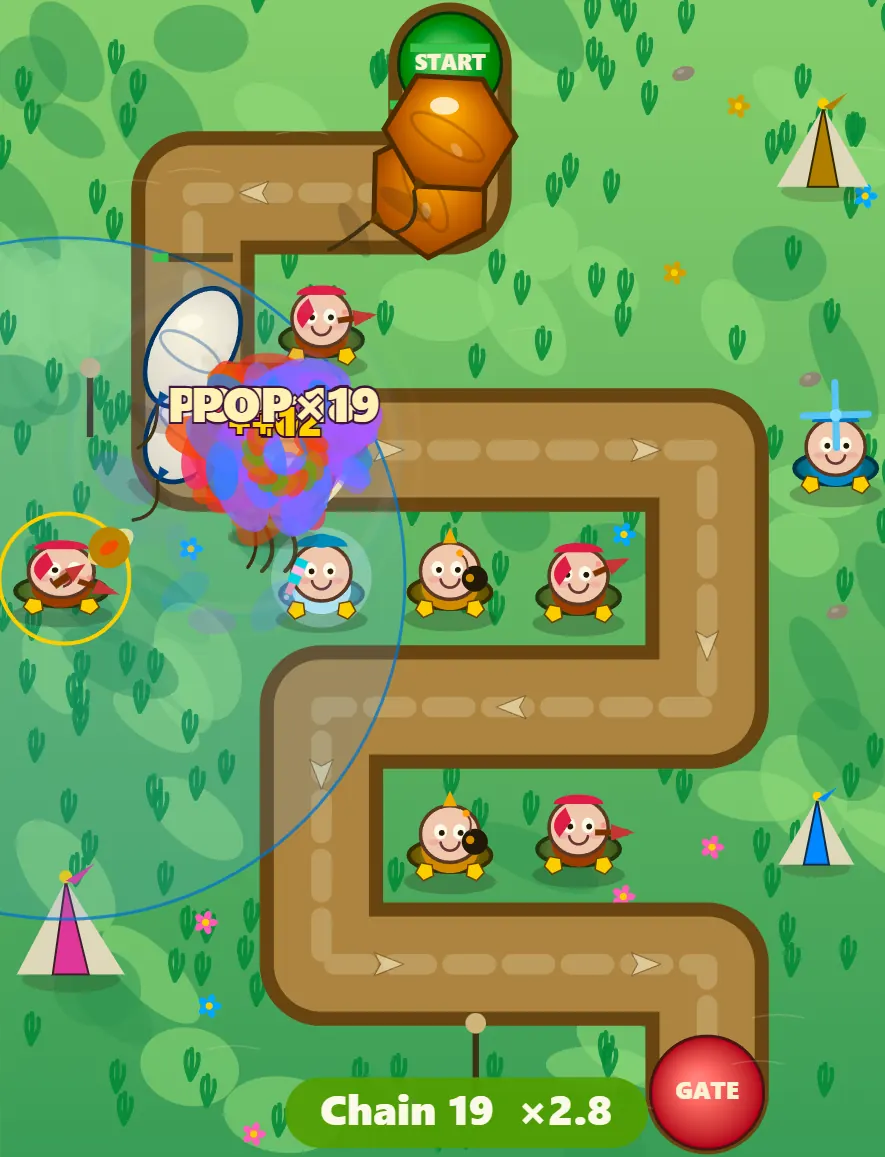
The one sum behind every tower defense game
A tower's output is roughly damage per second x seconds an enemy spends in range x enemies hit per shot. Damage per second is easy to work out (damage divided by seconds between shots). The other two factors are printed nowhere, and they are where good players win.
Take Fort Pop's Pin: 14 damage every 0.42 seconds, 33 damage per second. A Puff walks 1.12 tiles a second. Where 4 tiles of road pass through the Pin's range, each Puff is in range for 3.6 seconds: 119 damage. Where 10 tiles pass through, that becomes 9 seconds and 297 damage. Same gold, 2.5 times the output.
So on any new map: find the spots with the most road in range, put your damage there, slow enemies where your damage is, and only then pick which tower to buy next.
Placement: bends, sandwiches and dead corners
"Build on the inside of corners" is right but incomplete. You want the tile with the most road inside its range circle, and that is often not the corner tile but one sandwiched between two parallel stretches of road.
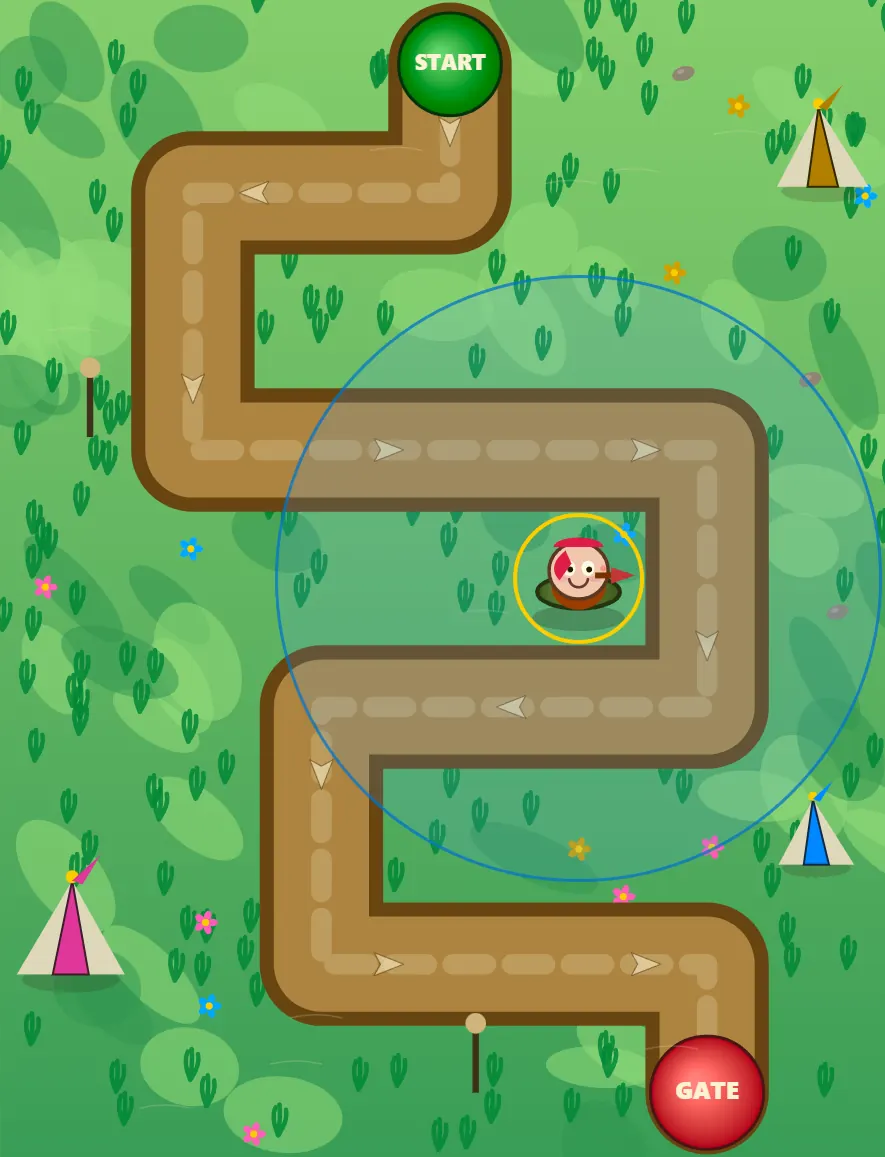
Here is every grass tile on Fort Pop's Midway map, scored by how many tiles of road a base Pin (range 2.35 tiles) can reach from it:
Three patterns show up on almost every map:
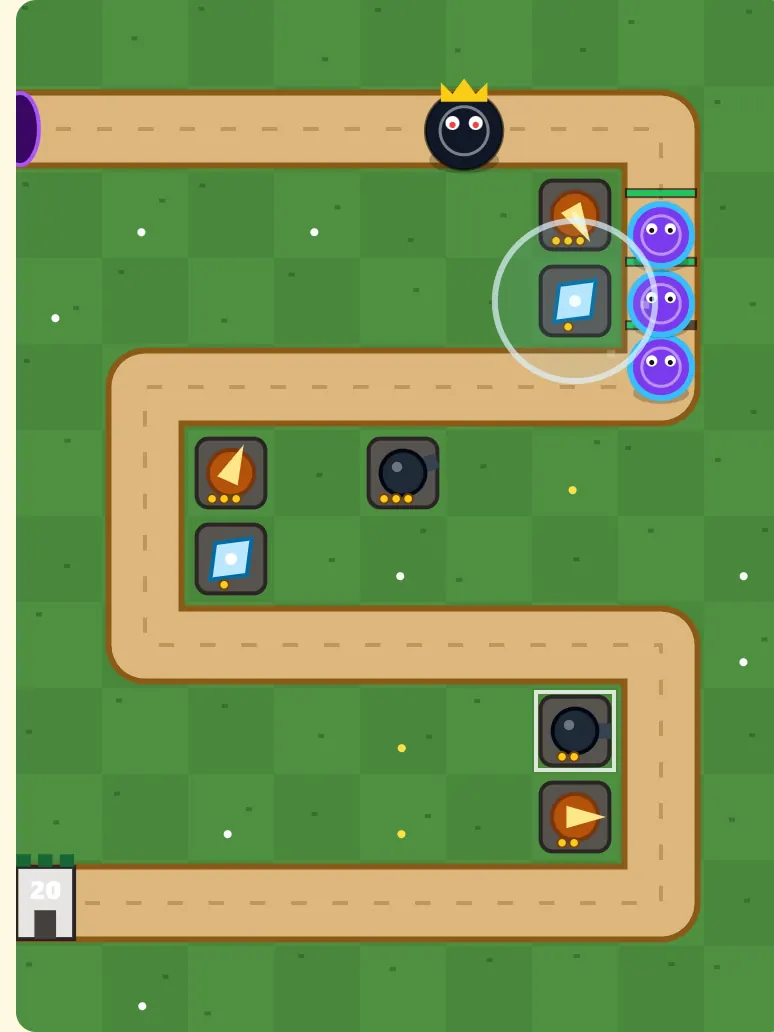
- Sandwich tiles beat corner tiles. On Midway the tile between rows 3 and 5 (10.4 tiles of road) beats the tile tucked inside the first bend (8.1). Tower Defense TD shows the same thing even more clearly: its path runs in four long horizontal bands three rows apart, and the tile one step in from each U-turn reaches 9.2 tiles of road while the corner tile itself reaches 8.5, because the corner tile wastes part of its circle on grass beyond the turn.
- The outside of a corner is a trap. Most of the range hangs over grass: Midway's outer tiles on the right reach about 2 to 4 tiles of road.
- Edges and far corners are for overflow only. Midway's top-right corner reaches 0 tiles of road and the bottom-left corner 0.4. A tower there is gold spent on nothing.
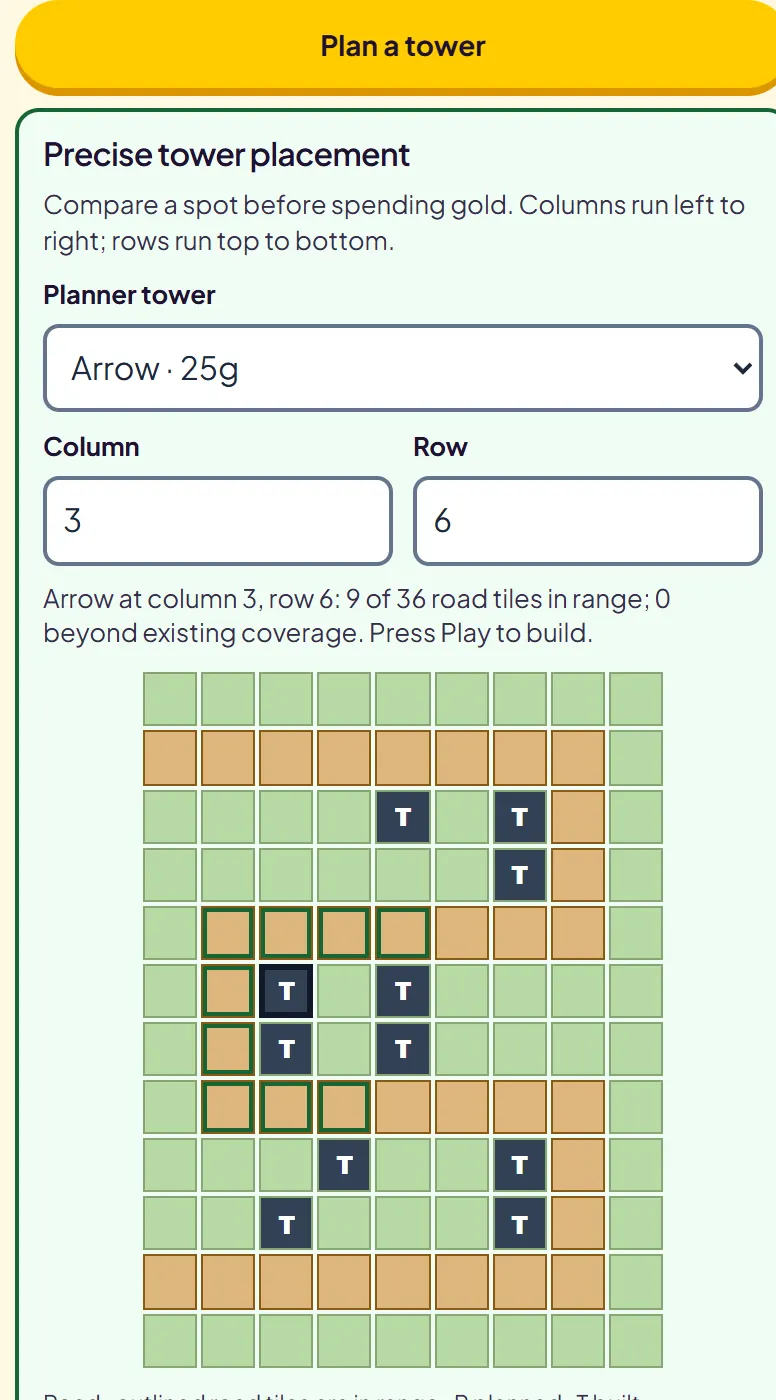
Tower Defense TD has a placement planner under the game that does this count for you: pick a tower, column and row, and it reports road tiles in range and how many are not already covered by your other towers.
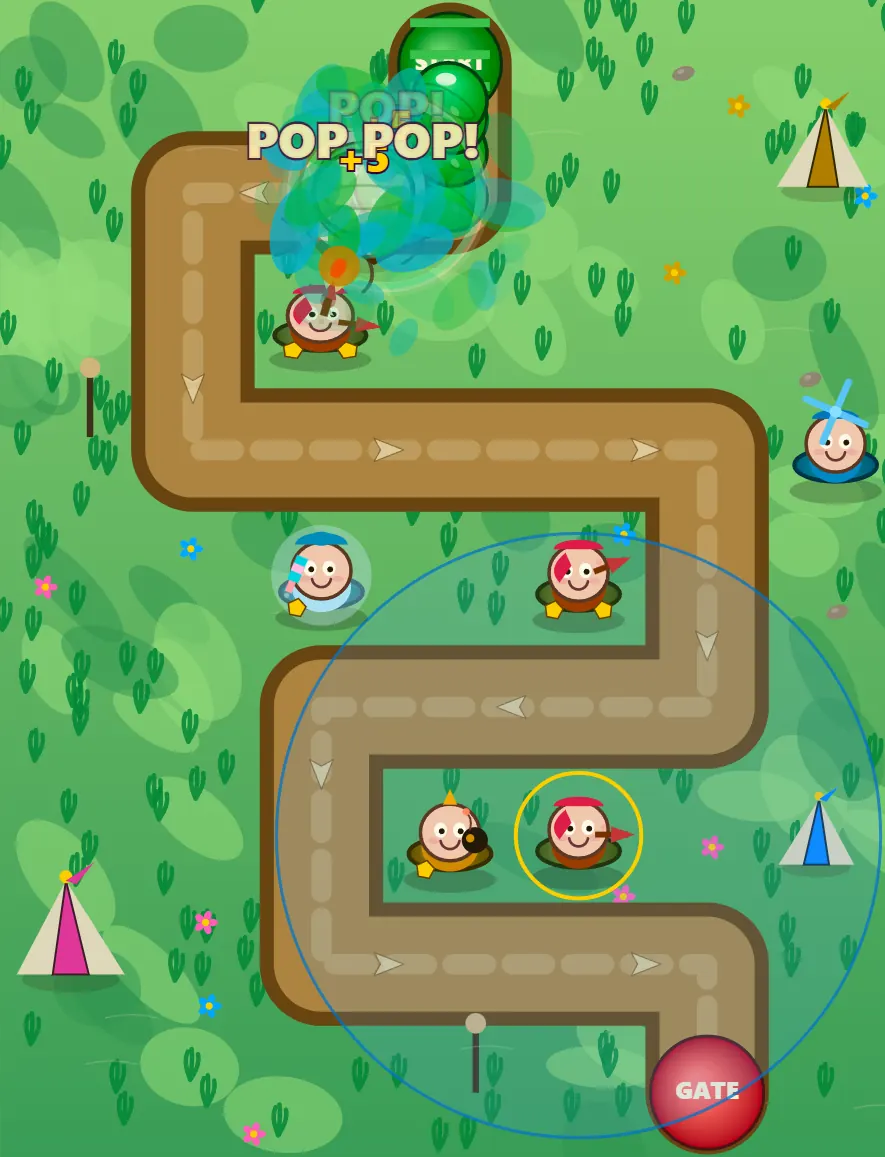
Damage per gold: new tower or upgrade?
Every purchase is a comparison: divide the damage per second it adds by its cost and buy the higher number.
| Purchase | Cost | Damage / cooldown | DPS after | DPS added per gold |
|---|---|---|---|---|
| Fort Pop: new Pin | 50 | 14 / 0.42 s | 33 | 0.67 |
| Fort Pop: Pin upgrade 1 | 45 | 24 / 0.42 s, range 2.65 | 57 | 0.53 |
| Fort Pop: Pin upgrade 2 | 80 | 38 / 0.28 s | 136 | 0.98 |
| Fort Pop: new Fan | 85 | 7 / 0.22 s, hits 3 in a line | 32 each | 0.37 per target |
| Fort Pop: new Confetti | 120 | 22 / 0.85 s, burst 1.15 | 26 each | 0.22 per target |
| Fort Pop: new Ice pop | 95 | 5 / 0.5 s, slows to 48% | 10 | 0.11 (bought for the slow) |
| TD TD: new Arrow | 25 | 7 / 0.55 s | 12.7 | 0.51 |
| TD TD: Arrow upgrade 1 | 30 | 12 / 0.47 s | 25.5 | 0.43 |
| TD TD: Arrow upgrade 2 | 55 | 21 / 0.40 s | 52.5 | 0.49 |
| TD TD: new Cannon | 55 | 20 / 1.5 s, splash 0.95 | 13.3 each | 0.24 per target |
| TD TD: Cannon upgrade 2 | 100 | 62 / 1.3 s, splash 1.25 | 47.7 each | 0.22 per target |
A weak upgrade can unlock a strong one. Fort Pop's first Pin upgrade is the worst buy on the list on its own (0.53), but it is the only way to reach the second, which is the best (0.98). A fully upgraded Pin costs 175 gold for 136 DPS, 0.78 per gold, and it fits on one good tile instead of three.
When the numbers are close, tiles decide. Tower Defense TD's Arrow upgrades stay near the base Arrow's 0.5 per gold, so upgrade the Arrows on your best spots and build new ones only when a good spot is empty.
Slows: the multiplier on everything else
A slow does not add damage. It multiplies the seconds-in-range factor for every tower that can reach the slowed enemy. Fort Pop's Ice pop drops its target to 48% speed (38% after its first upgrade), so that enemy spends 2.1 times as long in range of everything nearby (2.6 times after the upgrade). Tower Defense TD's Frost cuts speed by 45%, 52% and then 60% at each level, so enemies stay 1.8, 2.1 and 2.5 times as long.
The two slows work very differently:
- Fort Pop's Ice pop is a single-target shot. It fires every 0.5 seconds at one balloon, and the slow lasts 1.35 seconds (1.8 after the second upgrade). One enemy at a time: against a pack it slows the leader so the rest bunch up; against a boss it is your strongest tower.
- Tower Defense TD's Frost is a pulse. It hits every enemy in its range at once, every 1.1 seconds at base, but bosses only take half the slow. A max-level Frost slows normal enemies by 60% and a boss by 30%.
Fort Pop lets each tower aim at First (furthest along, the default), Strongest or Last. On a Parade wave, set Ice pop to Strongest so it keeps the boss slowed instead of freezing Puffs. A Parade walks 0.52 tiles a second, so a fully upgraded Pin on a 10-tile spot gets about 19 seconds at it, roughly 2,600 damage. Kept at 38% speed the whole way, that becomes about 50 seconds and close to 6,900 damage.
Where to put the slow. Put it where enemies enter your strongest stretch of coverage, not at the exit. Slowing them on the way out only delays leaks; slowing them on the way in multiplies every tower they are about to pass.

Splash, pierce and when area damage wins
Area towers pay per target hit. A base Fort Pop Confetti does 26 DPS to each enemy in its burst for 120 gold; a base Pin does 33 DPS to one enemy for 50. Against a lone Drum the Pin is more than three times better per gold. Against four bunched Confetti swarm enemies the Confetti tower is better. Fort Pop's swarm arrives from wave 7, with 6 plus the wave number of them spawning every 0.16 seconds: exactly the clump a burst wants.
Pierce towers care about direction instead. Fort Pop's Fan fires a gust down a line toward its target and damages up to 3 enemies (5 after the first upgrade) within about 0.4 tiles of that line, nearest first. Place it at the end of a straight, looking down the road, and the queue of enemies walks along the gust. Beside the road, the gust crosses the lane and usually catches one.
Tower Defense TD's Cannon fires at a point slightly ahead of its target, so unlike the homing Arrow it can land behind a fast Runner, and it pays 2 extra gold per enemy when one shell kills three or more. Put Cannons where lanes run close together and pair them with Frost so the pack is tight when the shell lands.
Armor and why small hits fall off
Tower Defense TD subtracts flat armor from every hit: Tanks have 2 armor, Bosses 3, and from wave 12 both gain one more. Every hit does its damage minus armor, never less than 1. That punishes towers with many small hits and barely touches towers with few big ones:
| Tower and level | No armor | Armor 2 (Tank) | Armor 4 (Boss, wave 12+) | Loss at armor 4 |
|---|---|---|---|---|
| Arrow, base | 7 | 5 | 3 | 57% |
| Arrow, max | 21 | 19 | 17 | 19% |
| Cannon, base | 20 | 18 | 16 | 20% |
| Cannon, max | 62 | 60 | 58 | 6% |
| Frost, base | 2 | 1 | 1 | 50% |
Base Arrows that shredded early waves lose more than half their damage against a late Boss. The fix is fewer, fully upgraded Arrows plus Cannon hits big enough that armor is a rounding error. Fort Pop has no armor, which is why its 7-damage Fan stays useful all game.
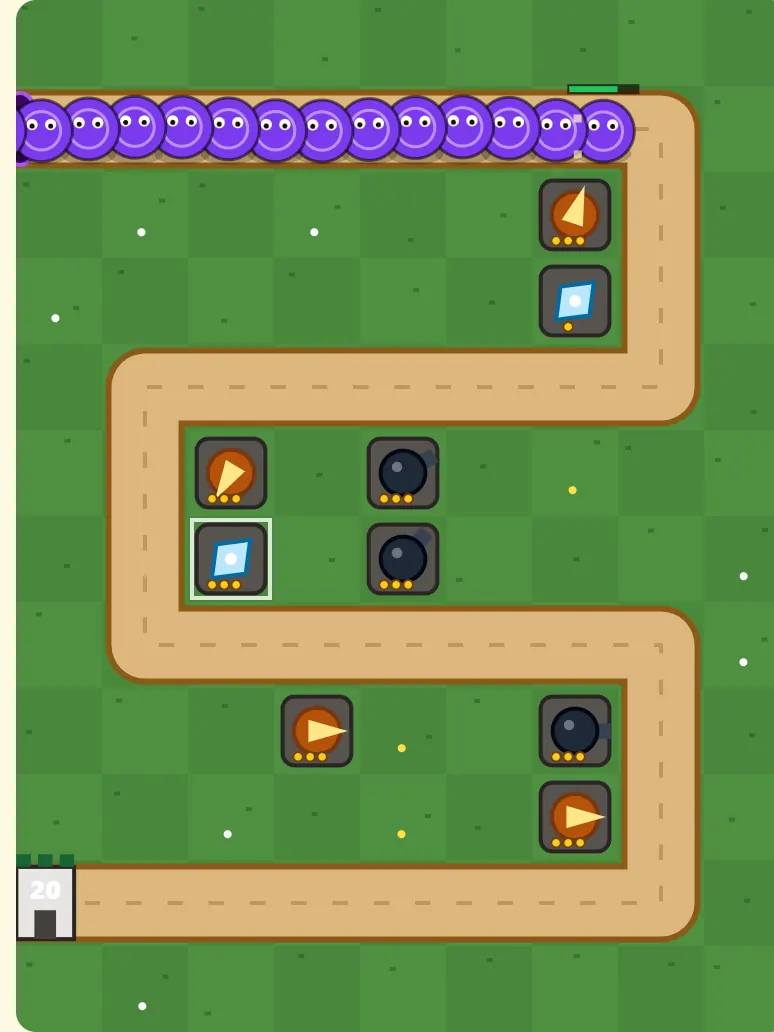
Reading the waves: linear versus compounding health
How enemy health grows decides how you should spend. Fort Pop adds 16% of each enemy's base health per wave, a straight line: a wave 20 enemy has 4.04 times its wave 1 health. Tower Defense TD multiplies health by 1.16 every wave on Normal and adds 4% of the base per wave on top, so it compounds: 5.2 times by wave 10, 12.5 times by wave 15 and 29.5 times by wave 20.
In a linear game a good early build can be topped up. In a compounding game your defence must roughly double every few waves. A Tower Defense TD Boss has 798 health on wave 5 and 1,965 on wave 10 on Normal, and wave 20 sends two of them at 11,220 each. Plan for the boss waves, not the wave in front of you.
| Wave | Enemies | Notable health |
|---|---|---|
| 1 | 6 Puffs | Puff 26 |
| 3 | 8 Puffs, 3 Zips (fast, 2.05 tiles a second) | Zip 21 |
| 5 | 10 Puffs, 4 Zips, 1 Drum | Drum 156 |
| 7 | 12 Puffs, 5 Zips, 1 Drum, 13 Confetti swarm | Swarm 22 |
| 10 | 15 Puffs, 7 Zips, 2 Drums, 16 swarm, 1 Parade | Parade 1,025 |
| 15 | 20 Puffs, 9 Zips, 4 Drums, 21 swarm, 1 Parade | Parade 1,361 |
| 20 | 25 Puffs, 12 Zips, 10 Drums, 26 swarm, 2 Parades | Parade 1,697 |
Tower Defense TD's waves follow a fixed rule: every fifth wave is a Boss wave, waves 6, 12 and 18 are Runner swarms, waves 7 and 14 are all Tanks, the rest are mixed. A leaked Tank costs 2 lives and a leaked Boss 5, so on Hard (12 lives) two leaked Bosses leave you with 2.
Economy: early calls, clean waves and selling
- Fort Pop pays you to call waves early. Once a wave has finished spawning you can send the next one. You get the running wave's clear reward (20 plus 2 per wave) immediately, plus a bonus of 10 plus the wave number. Calling wave 6 early pays 45 gold on the spot and 125 points. Free money when you are ahead; a fast way to lose when anything leaks.
- Tower Defense TD rewards clean waves. A clear pays 8 plus 2 per wave, plus 5 if nothing leaked, and clean streaks multiply the wave score up to 3 times.
- Selling is cheap insurance. Fort Pop refunds 70% of everything spent on a tower. Tower Defense TD refunds 100% if you sell during the same build phase you placed it in, so a mis-tap costs nothing, and 70% after a wave has started.
A worked run on Fort Pop's Midway map
The exact build from our test run on Midway (150 starting gold, 20 lives), in order. Tiles are column, row from the top-left, counting from 0.
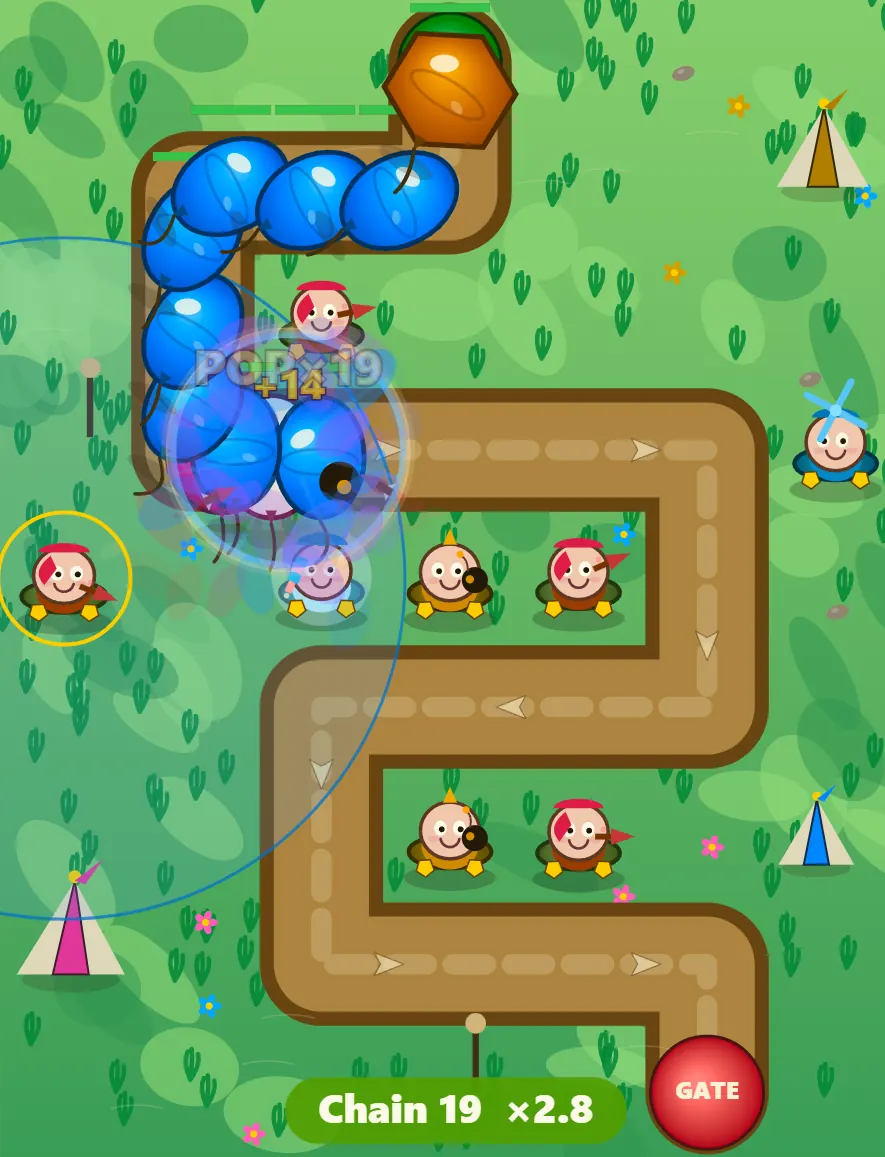
- Before wave 1: a Pin on the middle U at (4,4).
- After wave 1: a Pin inside the first bend at (2,2) and an Ice pop at (2,4), which reaches the second and third stretches of road.
- After waves 2 and 3: both upgrades on (4,4): a 136 DPS tower before the first Drum.
- After wave 4: a Confetti inside the lower U at (3,6) and a Fan at (6,3) looking back along the middle straight, ready for the wave 7 swarm.
- After waves 5 to 7: the second Pin and the Confetti to full, one Ice pop upgrade, and a third Pin on the second-best tile (4,6), taken straight to full.
- After waves 8 to 10: Fan and Ice pop to full, a second Confetti on the best tile (3,4) and an overflow Pin at (0,4), both to full.
Eight towers, all fully upgraded by the end of wave 10, for 1,905 gold. The run held all 20 waves without losing a life (3 stars) and finished with 7,178 gold unspent. That is the lesson: from wave 11 the defence was far ahead, and every wave could have been called early for its bonus.
Our Tower Defense TD run on Normal used the same ideas and went 19 waves without a leak. Then both 11,220-health Bosses of wave 20 reached the castle, costing 10 lives, while 633 gold sat unspent. It still won, but on a compounding curve banked gold is the costliest mistake: spend it before the boss wave.

Common mistakes
- Spreading towers along the whole path. It looks thorough but gives each tower a few seconds per enemy. Stack damage where the road loops back.
- Building on the outside of corners. It looks central, but most of the range covers grass. Check the inside tile and the sandwich tile first.
- Slowing at the exit. A slow near the end of the path only delays the leak. Put it at the entrance to your kill zone.
- Area towers against single bosses. A Confetti or Cannon against one big target is a weak single-target tower. Bring an upgraded Pin or Arrow for bosses.
- Calling waves early while leaking. In Fort Pop every leak costs a life, and stars depend on lives: 3 for losing none, 2 for keeping half.
FAQ
Where should you place towers in tower defense?
On the tiles that keep the most road inside the tower's range. That is usually inside a U-turn or between two parallel stretches of road, and almost never on the outside of a corner. On Fort Pop's Midway map the best tile reaches 10.4 tiles of road and the worst reaches none.
Is it better to upgrade a tower or build a new one?
Divide the damage per second each option adds by its cost and buy the higher one, but count tiles too. Once your best tiles are full, upgrades are the only way to add damage there. In Fort Pop a new Pin adds 0.67 DPS per gold and its second upgrade adds 0.98.
Should you slow enemies before or after splash damage?
Before. A slowed enemy stays in range longer for every tower that can reach it, and when the leader slows, the enemies behind it bunch up so the next burst hits more of them.
Why do my towers stop working in later waves?
Enemy health keeps growing, and in some games it compounds. Tower Defense TD enemies on Normal have 29.5 times their wave 1 health by wave 20, and late Tanks and Bosses also gain armor, so many small hits fall off.
Where can I play tower defense free in a browser?
Fort Pop and Tower Defense TD both run free on Play in Phone, on a phone or a computer, with no download or account. Fort Pop has four towers, three maps and 20 waves; Tower Defense TD has three towers, three difficulties, 20 waves and an endless mode.
Test the coverage map yourself: put your first Pin on Midway's middle U and watch how long each balloon stays in range.
Play Fort Pop