Bounce Ball guide
How to Play Bounce Ball: Physics, Combos and How to Climb Higher
Bounce Ball looks like a reflex game, but most runs end for a reason you can fix: a bounce spent on the same platform, a chase after a platform that has already slid away, or a crumble pad taken at the wrong moment. This guide uses the numbers in the game's own code (jump height, platform gaps, combo steps, when each platform type appears) to show what is actually happening on every bounce and how to turn that into height and score.
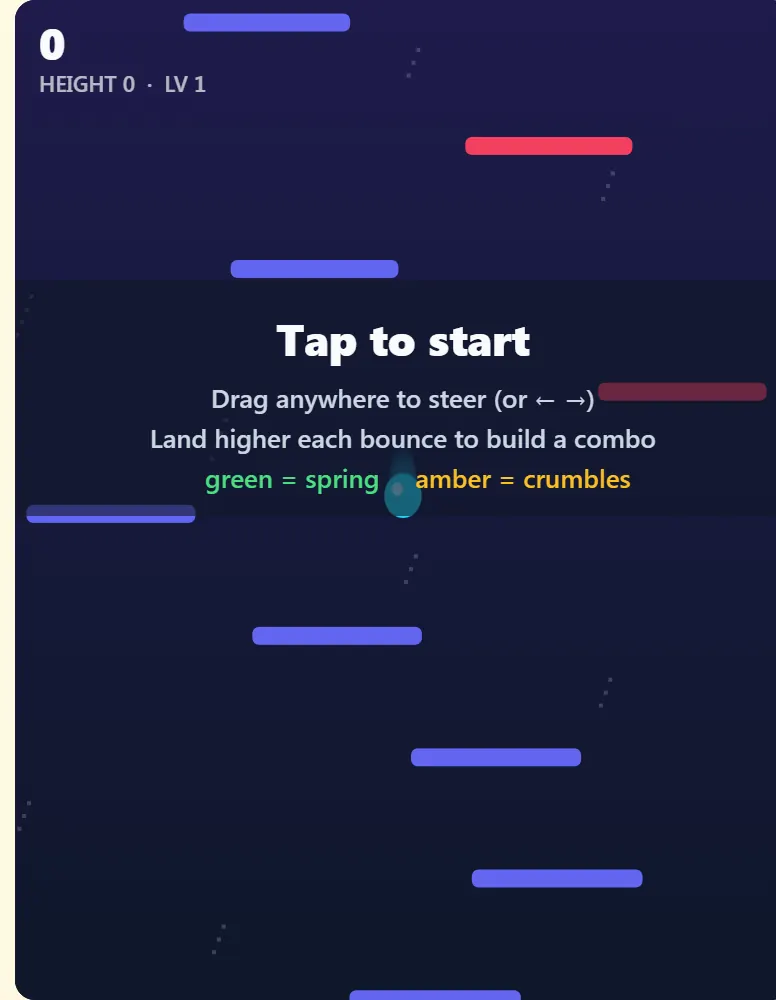
How to play
The ball bounces on its own. Your only job is to move it left and right so that each time it comes down, there is a platform under it, ideally one higher than the last. Miss everything and the ball drops out of the bottom of the view, which ends the run. The camera only moves up, so a platform that has scrolled off the bottom is gone for good.
The three control schemes behave differently, and picking the right one matters more than people expect:
- Mouse: absolute aim. The ball heads for the horizontal position of your cursor over the canvas. It does not teleport; it moves at most 7 pixels per frame, which is 420 pixels a second at the game's fixed 60 updates per second.
- Touch: relative drag. Put a finger anywhere on the canvas and slide; the aim point moves 1.5 times as far as your finger. You do not need to cover the ball with your thumb, so keep your finger low on the canvas where it hides nothing.
- Keyboard: Left and Right arrows, or A and D, nudge the aim point 6 pixels per frame while held. Space or Enter starts a new run from the game-over screen.
Two more rules shape everything else. The ball only lands while it is falling, so it passes up through platforms from below without touching them. And the side walls do not wrap: steer off the left edge and the ball stops at the wall rather than reappearing on the right.
The physics of one bounce
Every normal landing launches the ball upward at 8.2 pixels per frame, and gravity takes 0.22 off that every frame. Stepping that through frame by frame, the ball rises about 157 pixels and reaches the top of its arc 38 frames (about 0.63 seconds) after leaving the platform. A spring pad launches at 12.2 instead, for a rise of about 344 pixels.
The gap between platforms starts at 60 pixels and grows by 0.19 pixels per platform, capped at 88 pixels, which it reaches around platform 147. So a normal bounce always clears the next platform comfortably, and early on it can clear two: two gaps near the bottom add up to about 120 pixels, well inside a 157-pixel rise. Once a pair of gaps passes about 157 pixels, around platform 97, a two-platform skip from a normal bounce is no longer possible and only springs can skip.
Time matters as much as height. Landing on a pad one gap (60 pixels) above takes about 67 frames, roughly 1.1 seconds. In that time the ball can travel the full width of the 400-pixel canvas, because 420 pixels a second of sideways speed is more than enough. That is the single most useful fact in the game: you can reach any platform on screen from any bounce, as long as you start moving early. Most falls are not a lack of speed but a late decision.
There is also a little forgiveness at the edges. The landing check accepts the ball up to 5 pixels past either end of a platform, measured from the centre of the 10-pixel-radius ball, so the ball can look like it is hanging off the end and still land.
How scoring and combos work
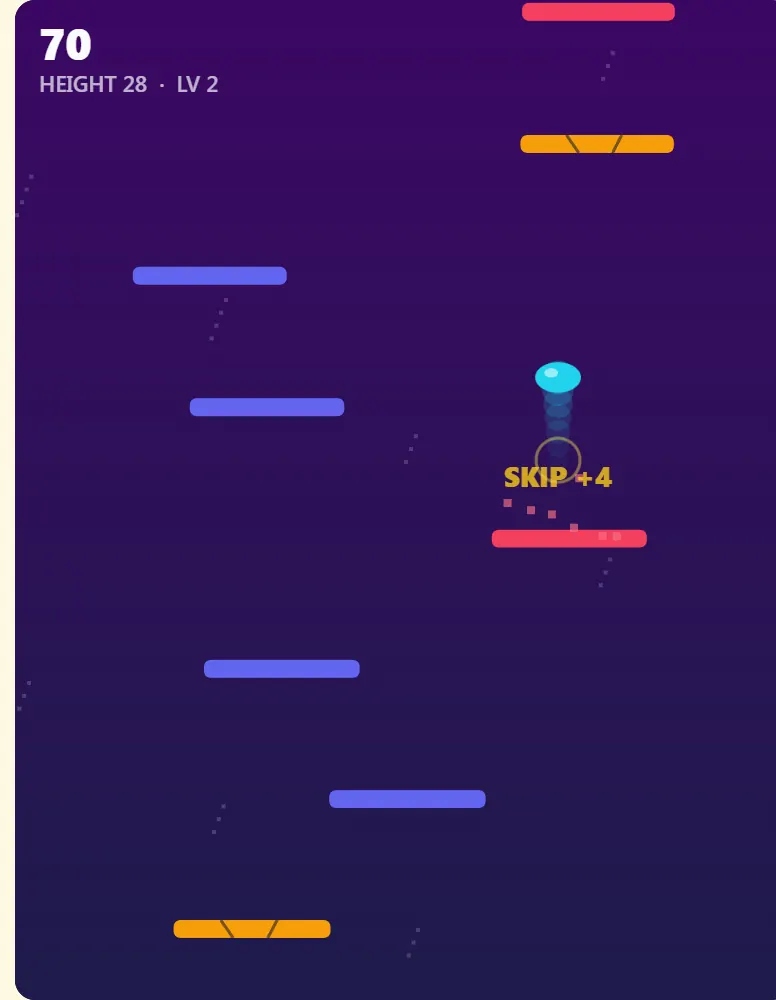
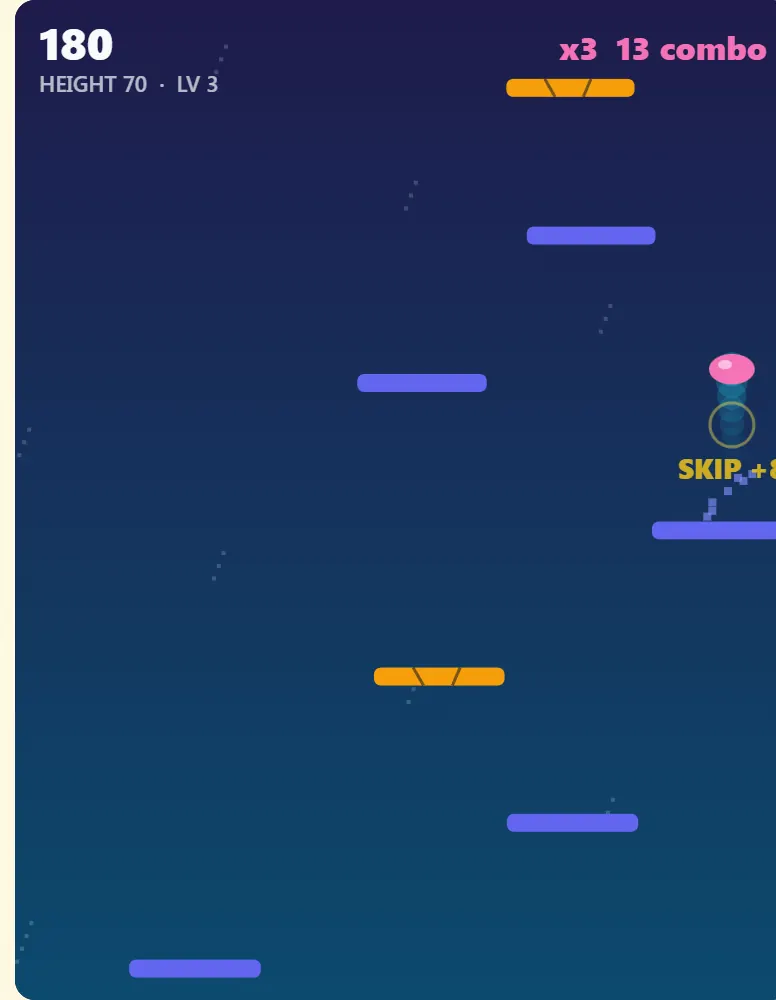
Points only come from landing on a platform higher than the last one you scored on. Each such landing adds one to your combo and pays the number of platforms you climbed, times your multiplier. Climb two or more platforms in one bounce and you get a flat 2-point SKIP bonus on top. Stars, which float 46 pixels above about one platform in eight, pay 5 times your multiplier when the ball touches them.
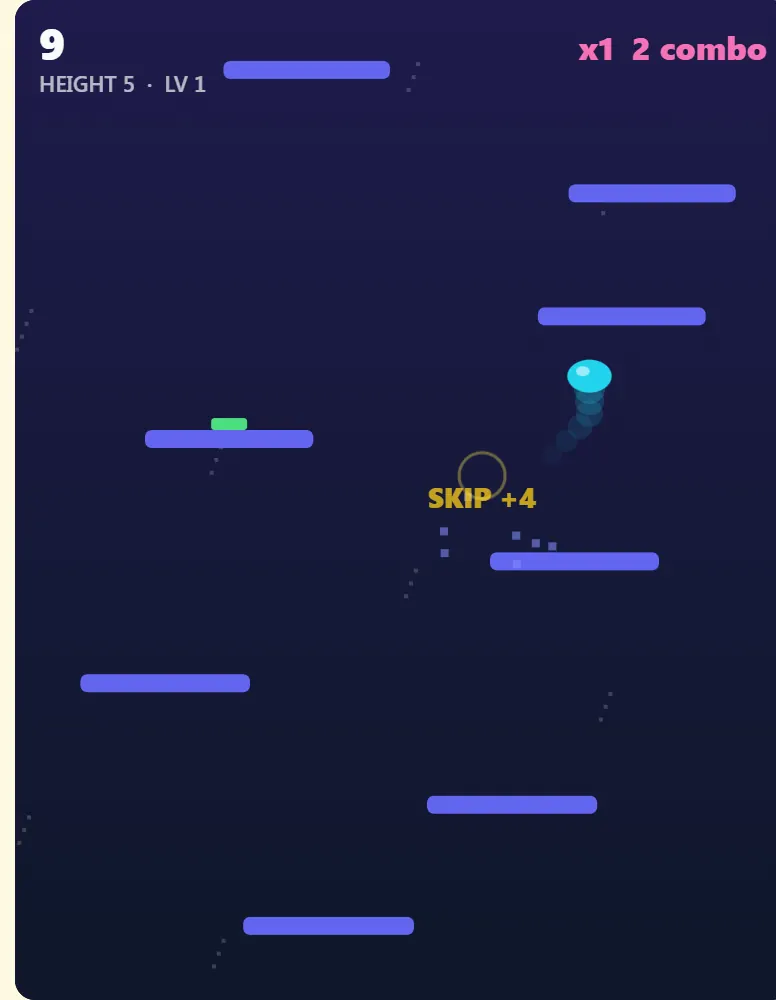
The multiplier is 1 plus one step for every 5 combo, capped at 5:
| Combo | Multiplier | Single-step climb pays | Two-platform skip pays | Star pays |
|---|---|---|---|---|
| 0 to 4 | x1 | 1 | 4 | 5 |
| 5 to 9 | x2 | 2 | 6 | 10 |
| 10 to 14 | x3 | 3 | 8 | 15 |
| 15 to 19 | x4 | 4 | 10 | 20 |
| 20 and up | x5 | 5 | 12 | 25 |
The catch is the reset. Land on the same platform again, or drop back to a lower one, and the combo goes straight to zero (the game shows "combo lost" if it was 3 or more). So a combo is not "bounces without dying"; it is "bounces that each climbed". Twenty-five clean single-step climbs from a standing start score 79 points. The same 25 platforms climbed with one wasted bounce on platform 12 score 49, and a stall every ten platforms keeps you from ever seeing x5 at all.
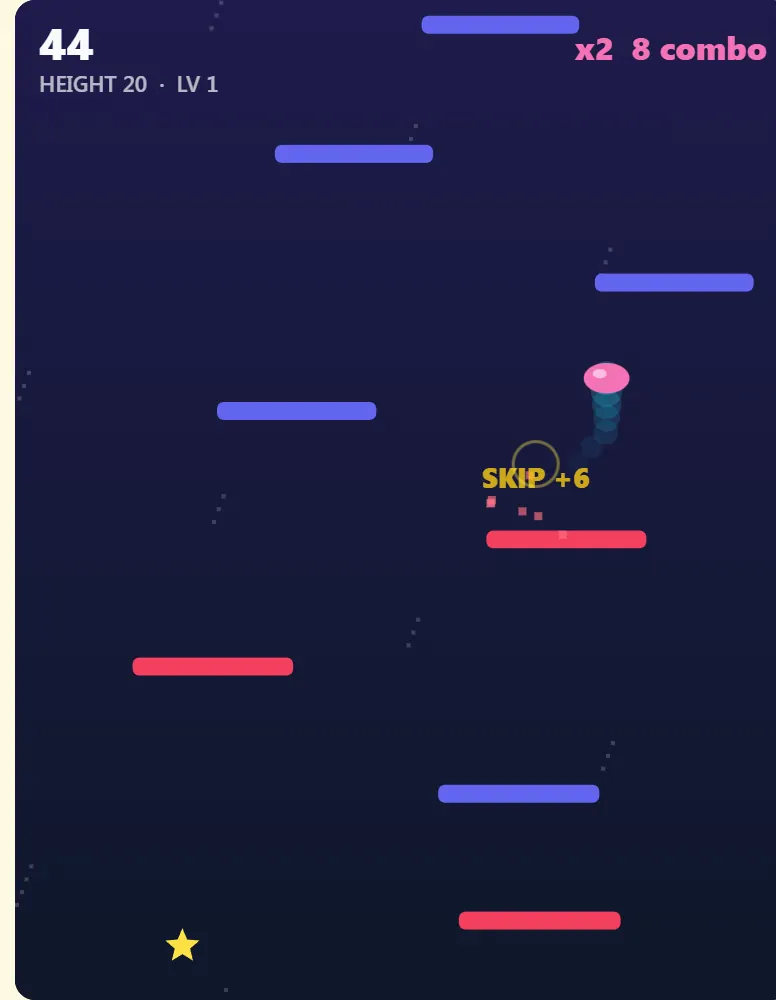
Platform types and when they appear
Platforms are generated one at a time as the camera rises, and the mix changes with the platform number. Everything below comes from the generator:
| Type | First possible | How often | What it does |
|---|---|---|---|
| Normal | Start | Everything else | 86 px wide at the bottom, 0.3 px narrower per platform, never under 44 px |
| Spring (green) | Platform 4 | 7% of non-crumble pads | Launches at 12.2 instead of 8.2: about 344 px of rise |
| Moving | Platform 6 | 15% plus 0.4% per platform, capped at 55% (from platform 100) | Slides sideways and reverses at the walls; speed 0.6 px per frame plus 0.012 per platform, up to 2.4 |
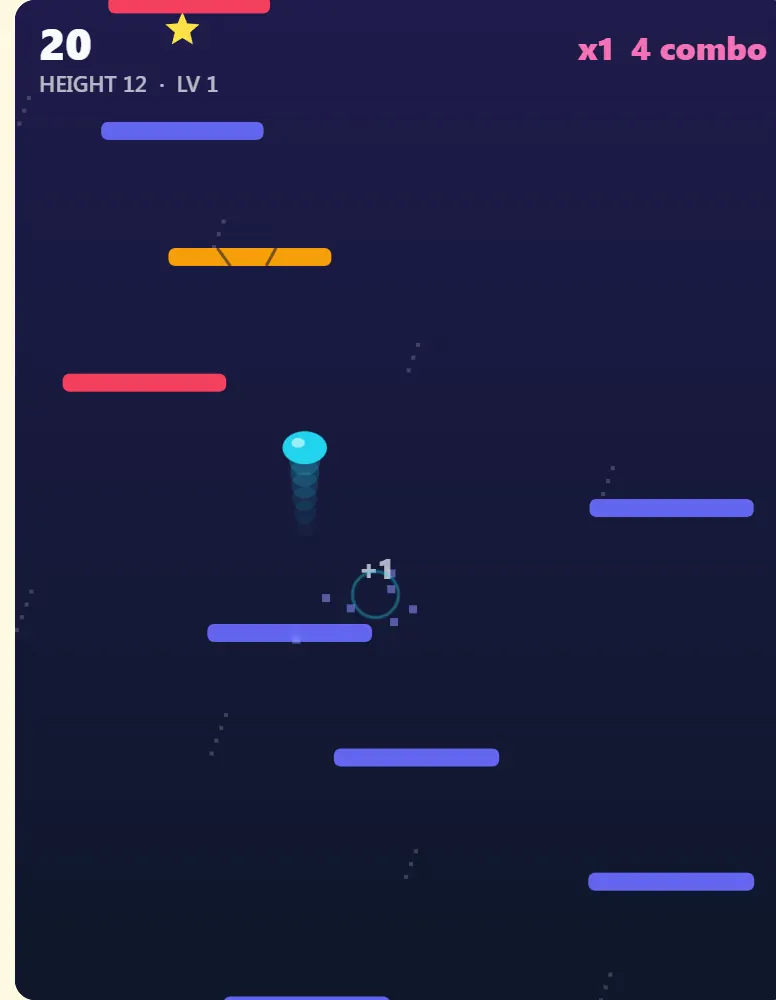
| Crumble | Platform 15 | 8% plus 0.4% per platform, capped at 25% | Holds one landing, then breaks and falls away |
| Star bonus | Any pad after the first | 12% | A star 46 px above the pad, worth 5 x multiplier |
Two things are worth noticing. Moving platforms get both more common and faster at the same time: at platform 50 roughly a third of pads move, at about 72 pixels a second; by platform 100 more than half move at about 108 pixels a second. And platforms narrow steadily, from 86 pixels to the 44-pixel minimum at platform 140, which roughly halves your margin for error. Every 25 platforms the level number goes up and the background colour changes, but the difficulty itself climbs smoothly with each platform, not in steps.
Strategy: from first run to high climbs
- Pick your next pad at the top of the arc, not on the way down. The ball spends about 0.63 seconds rising. Use that time: the moment you leave a pad, choose the next one and start moving. At 420 pixels a second you will be there early and can make a small correction as you fall.
- Never bounce twice on one pad. A second bounce on the same platform resets the combo to zero. If the next pad up is badly placed, it is still almost always better to take it with a long sideways move than to wait a bounce for a better angle.
- Take the nearest higher pad, not the highest one. A skip pays 2 extra points, but a missed skip often lands you lower and costs your whole combo. Early on, with gaps near 60 pixels, two-pad skips are realistic when the pads line up. Past platform 60 or so the second gap is too tall to reach reliably, so let skips come from springs.
- Use springs, but plan the landing first. A spring gives 1.3 to 1.8 seconds in the air and 344 pixels of rise. During that flight new pads appear above, so look up as soon as you launch. The landing is where spring runs die: you come down fast onto narrow pads you have not had time to judge.
- Lead the moving pads. A moving pad at platform 50 travels about 80 pixels during a one-second hop. Aim ahead of it in its direction of travel, and remember it reverses at the wall, so a pad heading for the edge may be coming back toward you by the time you land.
- Treat crumble pads as one-way doors. A crumble pad holds exactly one landing. That is fine as long as you leave it immediately for a higher pad, which you should be doing anyway. The danger is landing on one with no reachable pad above: it breaks, and the next pad below may already be off screen.
- Grab stars only on the way. A star pays 5 x multiplier, so at x5 it is worth 25, the same as five clean climbs. It is worth a detour only when it sits roughly above the pad you were heading for anyway. Never give up a landing to chase one.
- Protect the multiplier above all. At x5 every clean climb pays five times what it did at the start. Once you are deep in a chain, play safe: wide pads, short moves, no greedy skips.
Common mistakes
Waiting for a better angle. Bouncing in place to line up a pad feels safe, but it resets your combo to zero on the very next landing. Commit to the next pad up on every bounce.
- Steering on the way down. If you only start moving once the ball is falling, you have about half the time you really have. Decide at take-off.
- Using touch like a mouse. On a phone the drag is relative and magnified 1.5 times. Small finger movements are enough; big swipes overshoot.
- Chasing a moving pad from behind. If the pad is moving away from you at 1.5 to 2 pixels per frame, you only gain 5 to 5.5 pixels per frame on it. Pick a pad that is coming toward you or a static one.
- Expecting the edges to wrap. They do not. A pad hugging the far wall needs the full trip across.
- Dropping to a lower pad to survive and then panicking. Falling back to a visible lower pad is legal and keeps the run alive. It only costs the combo, so take it calmly and rebuild.

Landing radar, ball buttons and height chases
The page has three optional tools under the game. None of them change the physics.
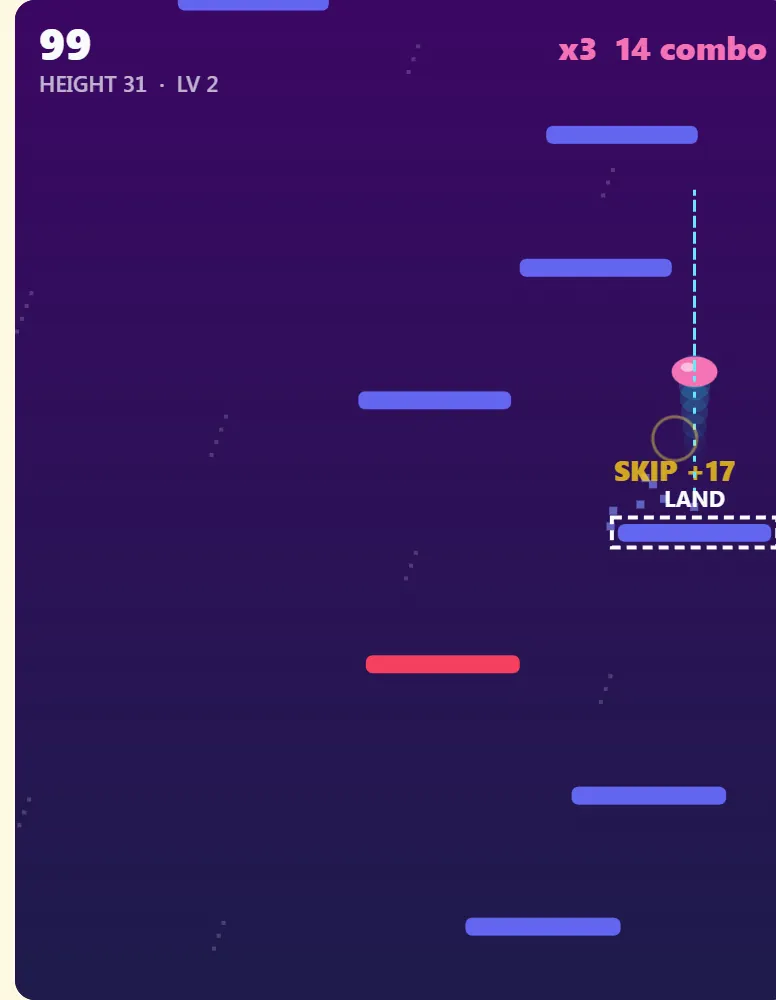
Landing radar draws dots along the path the ball will take if you keep steering exactly as you are, and outlines the pad it will land on. It uses the same gravity, sideways speed and moving-pad motion as the game, so it is a good teacher: watch how a small change in aim swaps which pad gets outlined. If no pad is outlined, your current aim lands nowhere. It cannot see pads that have not been generated yet above the screen.
Ball buttons are on-screen left and right buttons for players who would rather press than drag. Hold a direction to steer; let go and the ball keeps the current aim. Dragging and the keyboard still work alongside them.
Height chases let you set a personal target of +5, +10 or +25 height for the current run and track whether you reach it. Only height gained after you start the chase counts. A +10 chase is a good drill for combo play: ten clean climbs in a row is exactly enough to reach the x3 multiplier.
Practice plan. Run one: radar on, aim only for the next pad up, ignore stars and skips. Run two: radar off, same rule. Run three: start taking springs and two-pad skips below platform 40. Most players add 20 to 30 height just from the first rule.
FAQ
Why did my combo reset when I didn't fall?
The combo resets whenever you land on a platform that is not higher than the last one you scored on, including bouncing a second time on the same pad. Only landings that climb keep the chain going.
How high does the ball bounce?
About 157 pixels from a normal pad and about 344 pixels from a spring, on a 500-pixel-tall view. Gaps between pads run from 60 to 88 pixels, so a normal bounce always reaches the next pad.
Do the sides wrap around?
No. The ball stops at the left and right walls. Moving platforms bounce off the walls and reverse.
What do levels change?
A new level starts every 25 height and changes the background colours. The actual difficulty (narrower pads, wider gaps, more and faster moving pads, more crumble pads) increases a little with every platform, not at the level boundary.
Is mouse, touch or keyboard best?
Mouse is the most precise because the ball follows your cursor's position directly. Touch is close once you get used to the 1.5 times relative drag. Keyboard is the hardest for long sideways moves because the aim point moves at a fixed 6 pixels per frame.
Is my best score saved?
Yes, in your browser's local storage: best score, best height and best combo. Clearing site data or using a private window starts you fresh.
Ready to try the next-pad-up rule? Aim at take-off, never bounce twice on the same pad, and see how far x5 takes you.
Play Bounce Ball